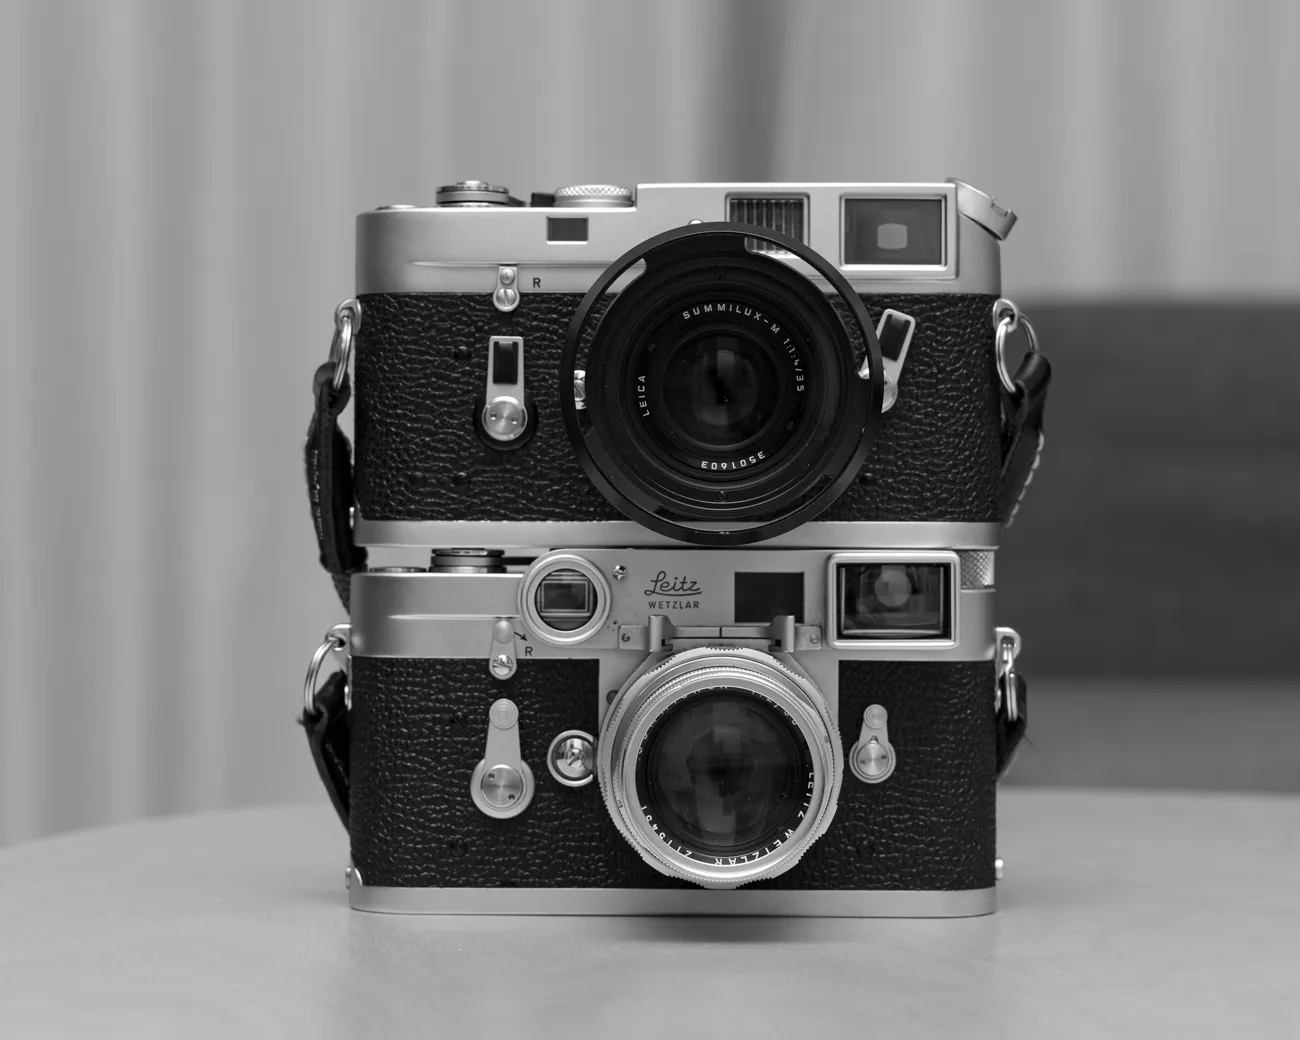
This article is a mobile-friendly adaptation of the piece I wrote for my sister site, Hooked-on: "Leica M3." If the subject interests you, I encourage you to visit the original on Hooked-on as well.
Images on this site are formatted for mobile in a vertical layout, which can appear oversized on a desktop screen. If that bothers you, the Hooked-on version may be easier to read.
[ https://en.hooked-on01.com ]
This site, inter-est, rebuilds content from my WordPress site Hooked-on using Drupal — and uses Drupal's features to enable cross-referencing between articles and browsing by related content. My hope is that visitors find their curiosity — their interest — expanding as they move through the site.
An introduction to the film Leica. Leica has admirers around the world, and the M-type rangefinder is the camera the name is built on. I own six Leicas in total: three film bodies — the original Model A, the M3, and the M4 — and three digital — the MD (Type 246), the original M Monochrom, and the M10-R in black paint. The photographs in this article were taken with the M3: the first of the M-type cameras, and still the definitive one.
M-type Leica.
There is no shortage of books and sites explaining Leica in exhaustive detail, and covering all of it would fill a volume on its own, so I'll keep this brief. The M-type Leica is a rangefinder camera. In simple terms: a coupled rangefinder uses a separate optical window linked to the focusing mechanism. When the double image in that window is aligned, focus is confirmed. You are not focusing through the taking lens — you are reading the distance via a separate finder and using that to set focus.
With an SLR, you focus on what the lens actually sees. At f/1.4, the depth of field is visible in the finder — you can see the background fall out of focus and confirm the effect before shooting. With the Leica, the finder is a clear, unobstructed view of the scene. The rangefinder patch tells you only that focus has been set at a given distance. You use that information as a guide, and shoot from there.
Range finder.
Because focus is set by distance rather than by viewing through the lens, the depth-of-field scale engraved on the lens is extremely accurate — more so than on SLR lenses, where it tends to be approximate. Stopped down to a moderate aperture, you can work entirely from the depth-of-field scale without putting your eye to the finder at all. As long as the subject falls within the zone of acceptable focus, the frame will be sharp.
This is what people mean when they talk about the Leica's speed. Press photographers used to shoot overhead — arm extended, camera held above the crowd — and still come back with the frame. The rangefinder made that possible: no need to look through the finder, no mirror blackout, just a quiet, fast shutter and the knowledge of where focus was set.
Technical specifications and historical background are well covered elsewhere, so I'll leave that aside. This article is about shooting film with a Leica — specifically, the photographs I've made with the M3, organised by film type.
(Film is, in a sense, the image sensor of its era — it is as much the camera as the body itself.)
3 film types.
Film divides broadly into colour and monochrome. Within colour, there are reversal films and negative films; monochrome is negative only.
Understanding the difference between reversal and negative is useful before you start shooting, so a brief explanation follows.
Negative film records a reversed image: the development process inverts the tones captured on the emulsion and then inverts them back to produce a positive print. Because of how negative film is structured, it handles highlights with latitude — it holds detail in bright areas — but is less forgiving in the shadows, where detail can be lost.
The saying that negatives hold the highlights and block up the shadows is accurate. The correct exposure is the starting point, but if the subject reads as slightly dark, exposing a little brighter tends to produce a better result. Worth keeping in mind.
Reversal film works in the opposite way: highlights are critical and can clip easily, while shadows are handled with more latitude.
This is the same characteristic as a digital camera sensor, which may make it easier to think about.
1. Reversal film (Fuji Provia 100)
Reversal film — also called slide or transparency film — reproduces colour with greater accuracy than colour negative. When I started shooting film, I used it often because the results are closest to what a digital camera produces.
This photograph was taken in Asakusa with a 1950s Leica M3 fitted with a Summilux 21mm f/1.4 — a large-aperture wide-angle lens. The subject is a tourist I happened to speak with and spent some time talking to. Leica lenses are exceptionally capable, and the sharpness here is as clean as anything from a modern camera, despite being shot on film.
With the 21mm, I usually set the aperture to f/5.6 and focus at 3 metres. At that combination, depth of field extends from 1.5 metres to infinity — everything is in acceptable focus without touching the focus ring. It's an extremely fast way to work.
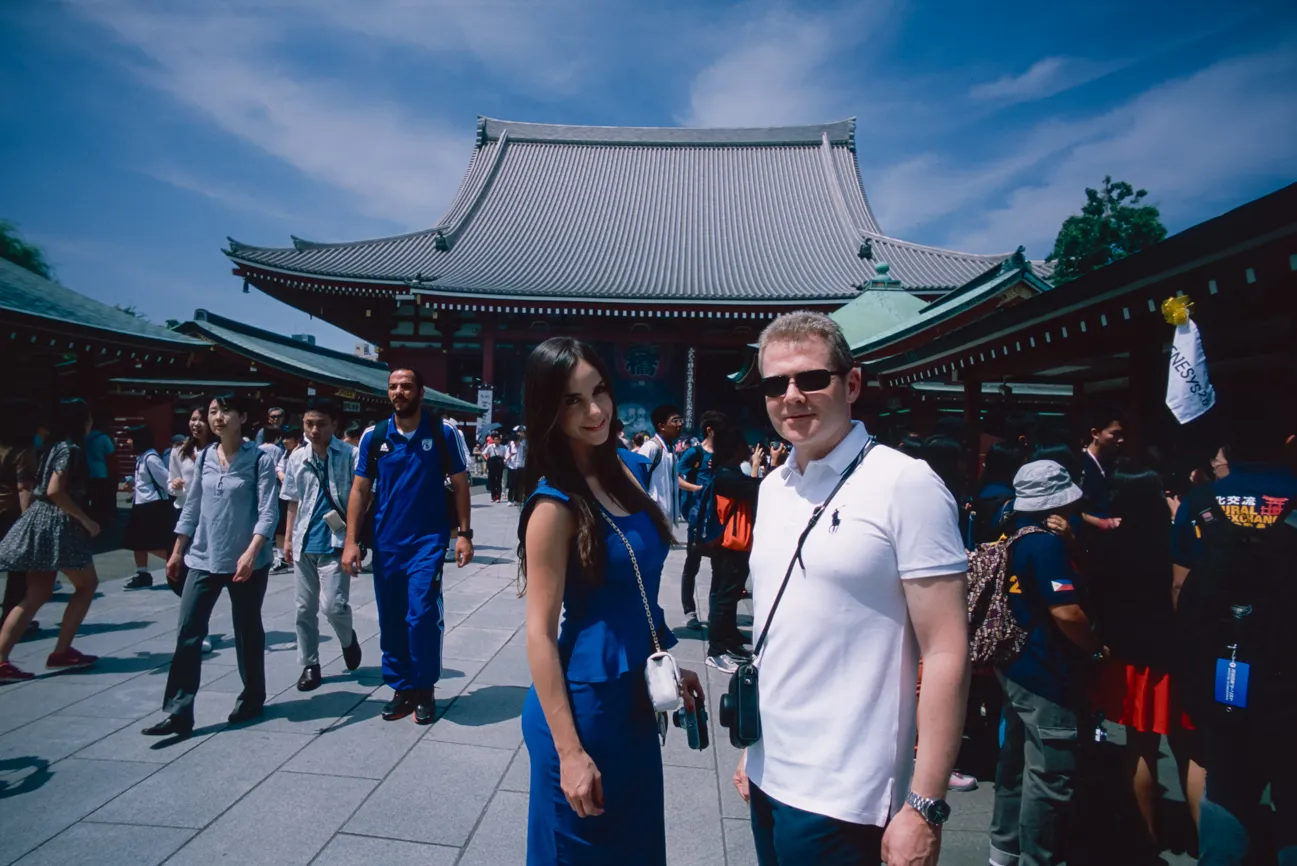
Leica M3 Summilux 21mm Fuji Provia 100
2. Colour negative film (Kodak Portra 160)
When most people think of colour photography, they're thinking of colour negative — the film that was loaded into cameras for decades before digital. Anyone who shot film regularly will have used it at some point.
Compared to reversal, colour negative has a warmer cast — oranges and yellows come forward. Stronger light pulls the image warm; softer light pushes it cooler, toward blues and greens. Filtration can correct this, but in the digital era, the colour shift has become something many photographers keep deliberately — it reads as "film."
This photograph was taken with the DR Summicron 50mm — Dual Range, a dual-focus Summicron capable of focusing unusually close. It's a lens that holds its own against modern high-performance glass in resolution, and it stays on the M3 most of the time.
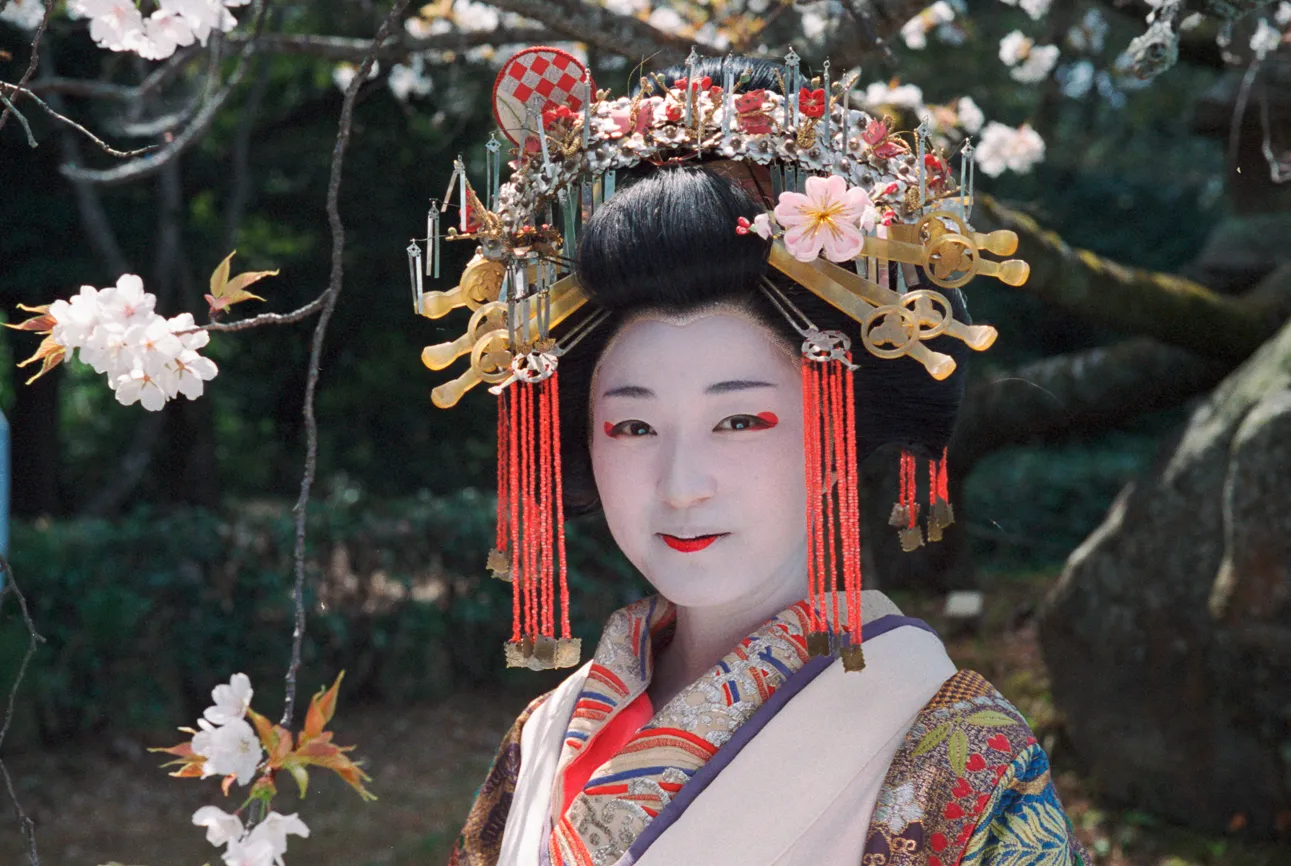
Leica M3 Summicron 50mm (DR) Kodak Portra 160
I had a digital M10 with me the same day, so I made a comparison frame to show the difference between film and digital side by side.
Leica M10 Apo-Summicron 90/2
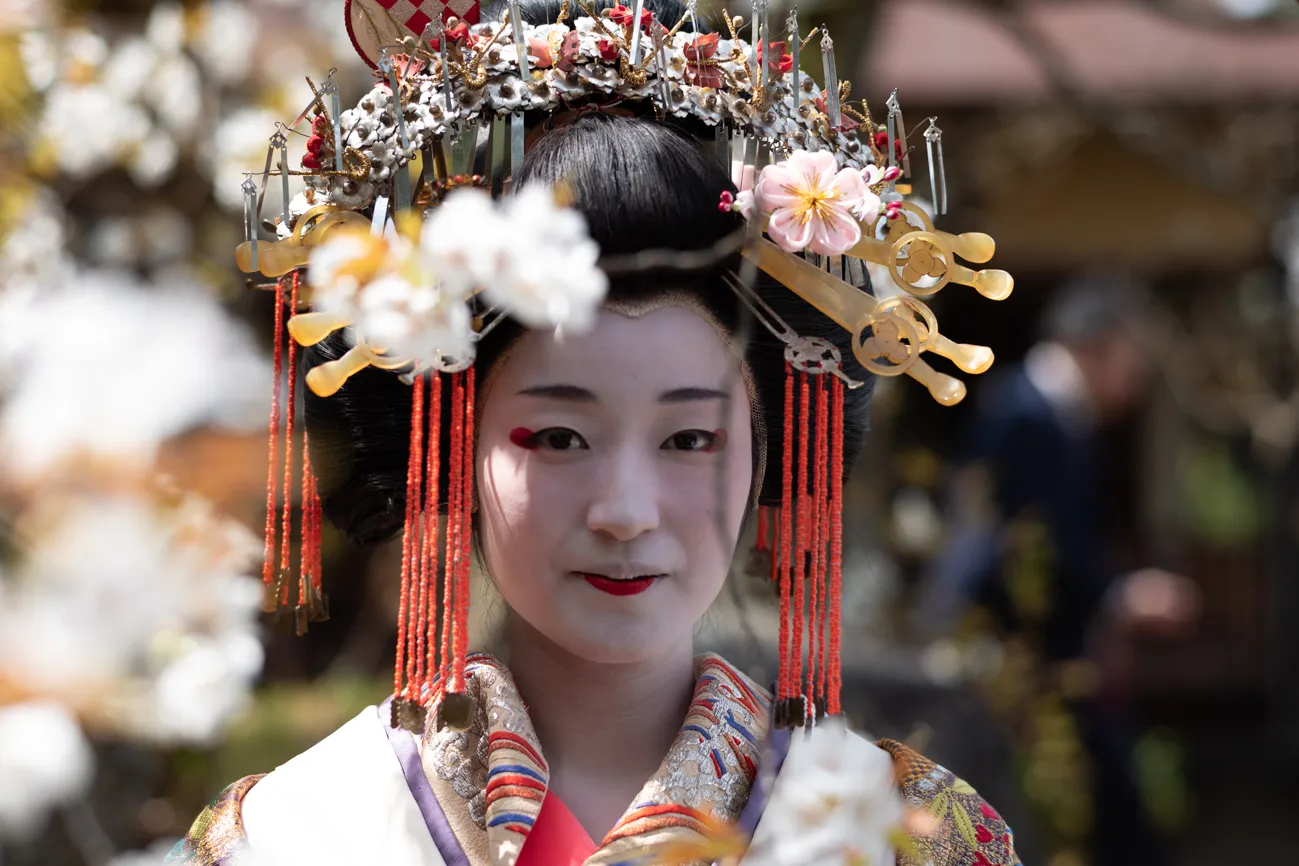
Leica M10 Apo-Summicron 90/2
3. Monochrome film (ILFORD DELTA 400)
From here, monochrome.
What draws me to monochrome film is that the entire process — developing, printing — can be done by hand. That process is deep and genuinely absorbing, and it's why I shoot monochrome more often than colour.
This photograph was self-developed. The film is ILFORD DELTA 400, shot and rated at ISO 400 — what is called straight development. The developer is ILFORD DDX, but processed with diluted development: the developer mixed more dilute than the standard ratio, with a correspondingly longer development time.
ILFORD DELTA has a characteristic that sets it apart — the light grey tones in the highlights, a particular silver quality that other films don't produce in the same way. The diluted DDX development is specifically to bring that silver tonality out. Controlling what the developer does, to serve what the film is capable of — that's the part I find most interesting.
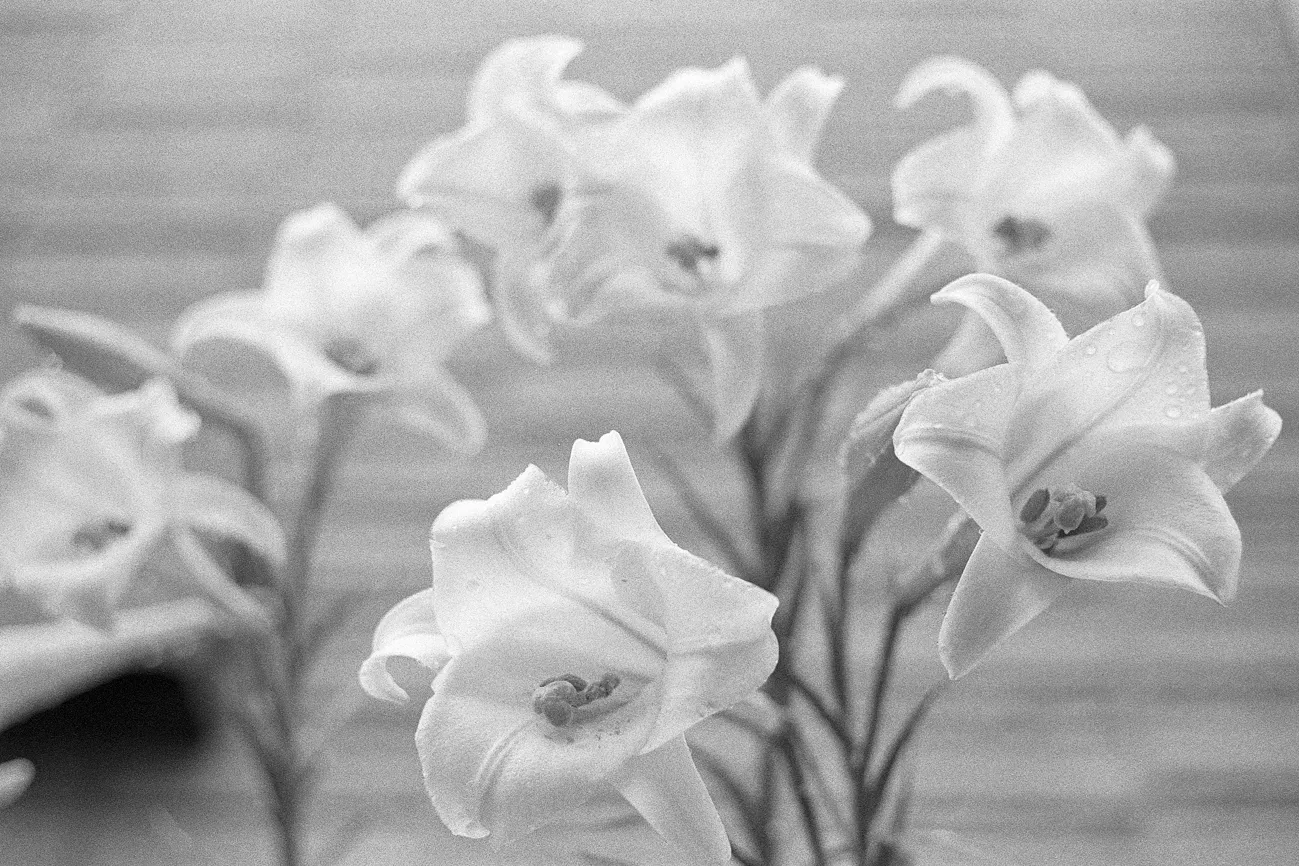
Leica M3 Summicron 50mm (DR) ILFORD DELTA 400
4. Monochrome film (Kodak Tri-X 400)
A second monochrome example, this time Kodak Tri-X 400 — the industry standard, and almost certainly the film behind most of the iconic photographs you've seen. What makes Tri-X genuinely interesting is how much the tonality changes with rating and development: the same film at ISO 200 and ISO 1600 produce results that feel entirely different in character. That range of control is part of what keeps me coming back to it.
I haven't the space to cover all of it here, but with Tri-X I work across a wide range: ISO 200, 400, 800, 1600, 2500 — pull to push — choosing the rating and development to match the conditions and what I'm trying to produce. Tri-X also responds very directly to the quality of light at the time of exposure, which makes it easier to visualise the print before you shoot.
The subject here is a taro leaf. The tonality is soft in a way that's hard to describe — that quality comes from pull processing at ISO 200. Kodak also makes T-MAX, a technically superior film in terms of sharpness and resolution, capable of push processing to ISO 3200. But T-MAX has a harder, more clinical quality — closer to digital — and Tri-X is the one I reach for most.
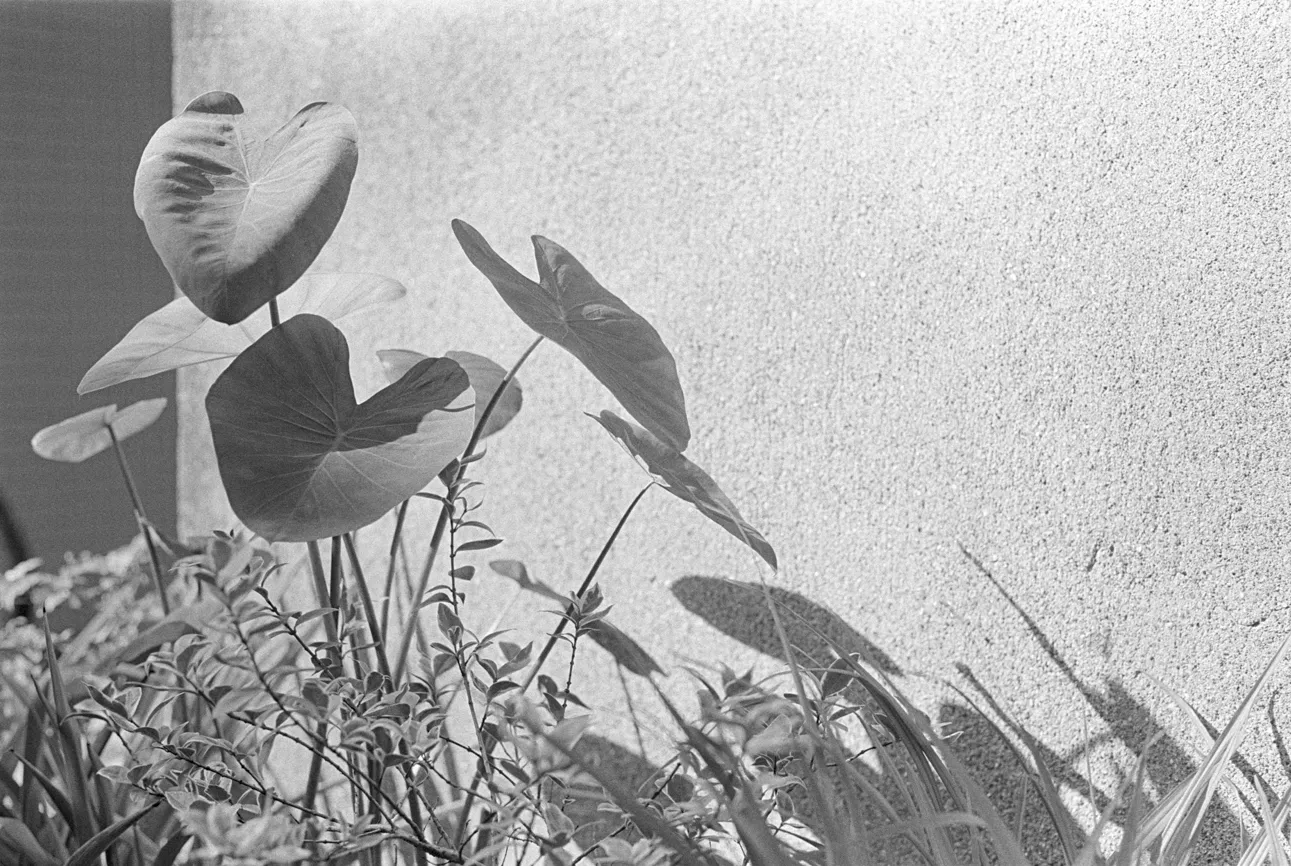
Leica M3 Summicron 50mm (DR) Kodak Tri-X 400 (Pull 200)
Conclude.
Since the pandemic, I've largely stopped making photographs. But going back through the archive while putting this article together has made me want to shoot again. Film has something that digital doesn't — and with only 36 frames on a roll, there's a discipline to it that changes how you work. Getting the monochrome tones right, developing by hand: once you start, it pulls you in.
Handling the M3 again after a long absence, the shutter — that soft, precise cloth-curtain sound, the satisfying double stroke of the film advance — reminded me of what I'd been missing. I'm planning to put a roll through it soon.
One reason I'd stopped shooting film was that R09 — Rodinal, my main developer — had disappeared from the market entirely. It's been coming back recently, and that's part of what's drawing me back to the darkroom.
Purchasing Store.
My film cameras come from Camera Onuki in Yokohama — a long-established shop with a wide range of cameras, accessories, and supplies. Every camera is properly serviced before it goes out, and the shop is set up to handle repairs when something needs attention. You can buy with confidence, whatever you're looking for.
The staff photograph seriously and know their subject well — happy to talk through any question, from beginner concerns to more specific technical matters. Worth a visit if you find yourself in Yokohama.